
 |
| Photo by Erik Clausen |
 |
| Photo by Erik Clausen |
 |
| Photo by Erik Clausen |
 |
| Photo by Erik Clausen |
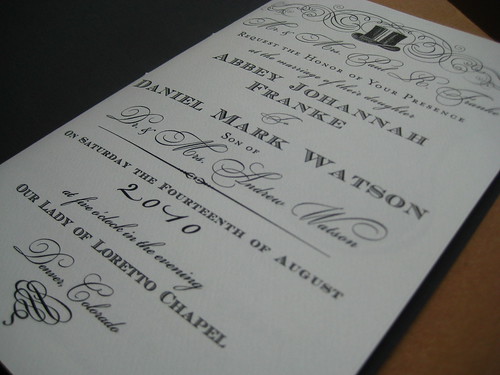
The black and white artwork was sourced from istockphoto and the fabulously free clip art directory hosted by the University of South Florida - Clipart ETC don't even get me started on the anatomical drawings.
D. built our map centerfold using a 1950's map of Denver with a few tweaks (including airbrushing out Stapleton). The fonts throughout were sourced from inspirational time suck dafont.com.


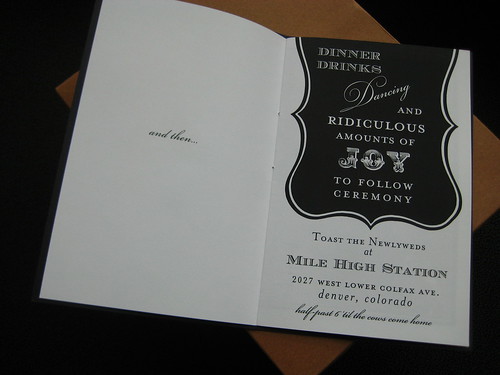
Our black linen cover stock and velvet textured pages all came from The Paper Mill Store. Having the cover stock pre-scored saved us loads of time and ensured that the spines were nice and straight. The scalloped labels used on the covers and our black and white striped envelope liners came from Envelopper Inc.


Our RSVP cards mimicked library cards printed on card stock and tucked into actual library card pockets purchased from, where else, The Library Store.
After dozens of mock-ups, thousands of nudges and hours of kerning on photoshop - I handed our files and paper over to the understanding people at Metro Press, a print shop a few blocks from my office. They were the first wedding invitations anyone had brought in, which might have scared a few people. Luckily, picking Metro Press was a good call - small and family run, they devoted a lot of time to making sure that everything was just right and printed out plenty of proofs for me.
The final printed pages were stitched into each cover - by hand (by me!) with black and white licorice twine from Divine Twine. Then stuck into kraft paper envelopes from Paper Presentation (who also supplied the RSVP card envelopes) which were lined in the aforementioned black and white liners from Envelopper Inc.
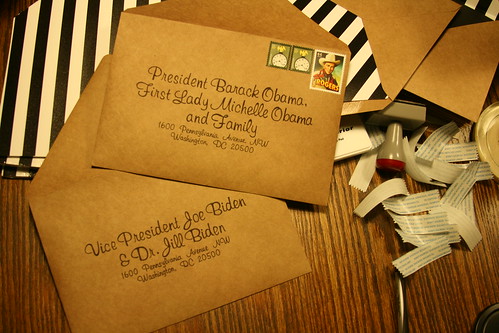
I'll also let you in on a little secret - if it wasn't already obvious. That's not my handwriting, but a great choice of font, printed and traced painstakingly.
Our return address stamp and the library date stamp were both purchased on Rubber Stamp Champ, where I'm getting ready to order a new version for "The Watsons."
P.S. Thanks to blogger friend Julie for noticing the new layout around here. If you can't tell, I'm looking for graphic design activities.